WebGL seems to grow at every passing year. As HTML5 becomes the standard and gains support on all browsers, WebGL will eventually replace other media-enabling workarounds such as plugins and Flash. In the face of this inevitable future, I felt it was time to get my hands dirty on some JavaScript and WebGL coding as soon as possible.
Since at the time of this writing a new Star Wars movie (Episode VII - The Force Awakens) was in the making, I though: what better rendering demo to write than a little Lightsaber app!
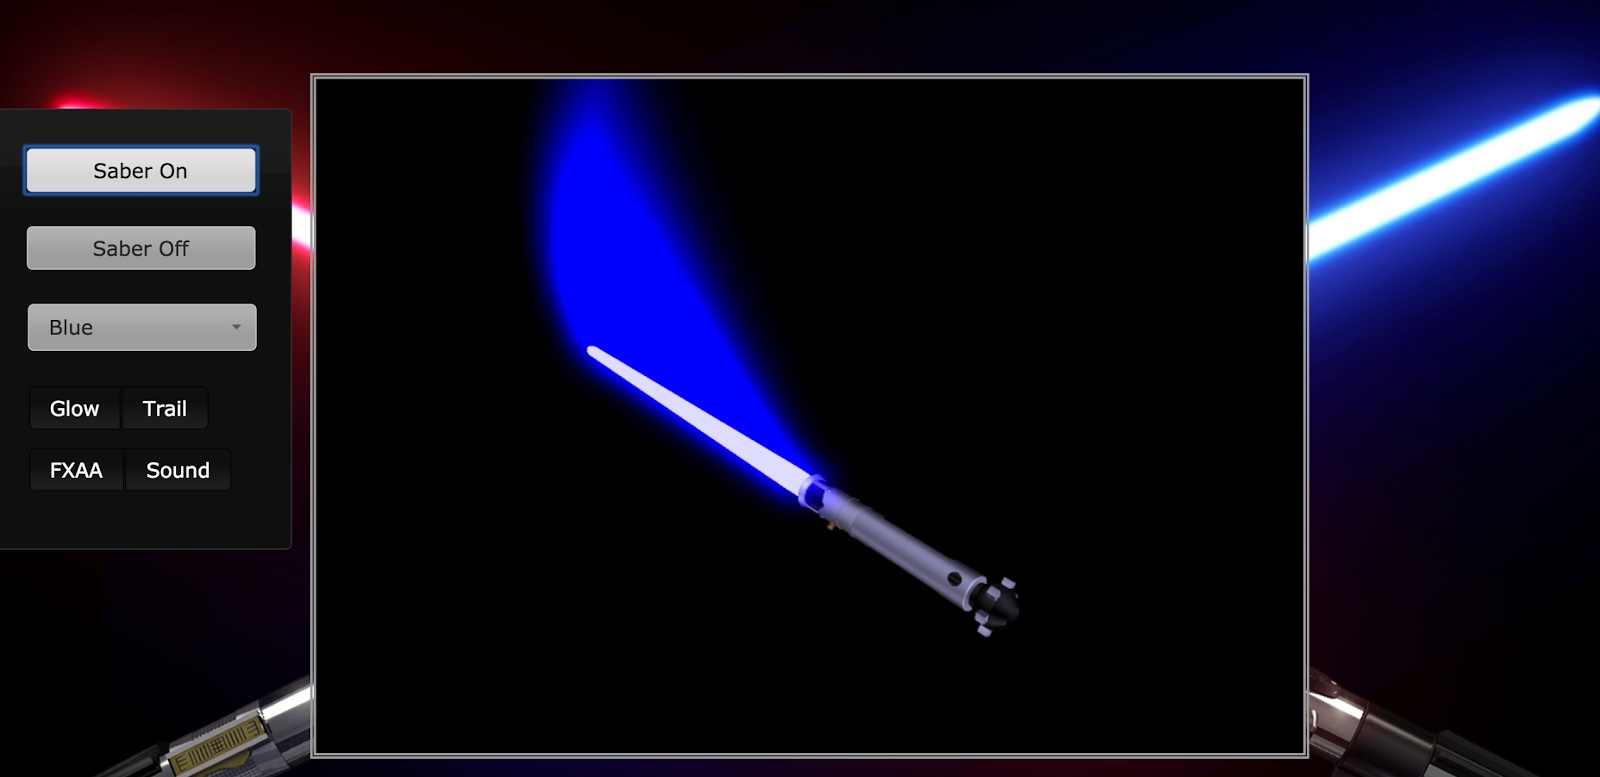
And here it is! Follow the link under the image for a live demo.
 Live demo (requires a WebGL capable browser).
The Jedi framework
Working with raw WebGL is a little annoying. The API is mostly identical to the C version, so it is not very user friendly. JavaScript code is naturally a mess, so for anything larger than a single source file, it is quite important to put some effort into organizing things up and applying some sound OOP principles to the code.
To make my life easier and provide a cleaner interface to WebGL I wrote a small helper framework library which I call “Jedi”
(here’s hoping I don’t get sued…). This is a tiny Object Oriented Wrapper over the WebGL API. Written in “plain” JavaScript
for extra compatibility, since ES6 is still in its early days. It provides basic foundation classes such as
ShaderProgram, Texture, Framebuffer, Model3D, etc.
Jedi is not a full blown 3D rendering engine such as Three.js, but it gets the job done and simplifies things a lot.
It was also a good learning exercise the write it, both to get mote acquainted with JS and also with the differences between WebGL and
the good ole Desktop OpenGL I’m used to working with.
Having this tiny framework has also enabled me to write this Doom 3 MD5 model viewer much faster. Since it provides the basic building blocks for a browser-based WebGL app, simple to mid-sized demos and small games can be coded in a matter of hours, rather than days.
The source code for the Jedi framework can be found in a self-contained directory in the same repository used by the Lightsaber and other demos. Since I don’t plan on making it a stand-alone library at the moment, I didn’t bother giving it a home of its own.
The Lightsaber
The Lightsaber app is in itself quite simple. Just a 3D model rendered inside a WebGL Canvas in the middle of the page. The user interface buttons to change blade color, turn it on/of, etc, are provided by the de facto standard jQuery API. What makes the otherwise dull Lightsaber model look cool are the rendering effects applied to it.
Blade glow effect
A Lightsaber blade is somewhat glowy, specially in the dark. Simply rendering the blade in a bright solid color wouldn’t be enough to simulate that. Particles emanating from the blade could possibly be a solution, but that would be much harder to implement, and probably too computationally intensive to run on a browser.
Luckily, there is a well known post-processing effect that is meant to make objects appear to be glowing, the so called light bloom (name often used when applied to light sources), or simply object glow.
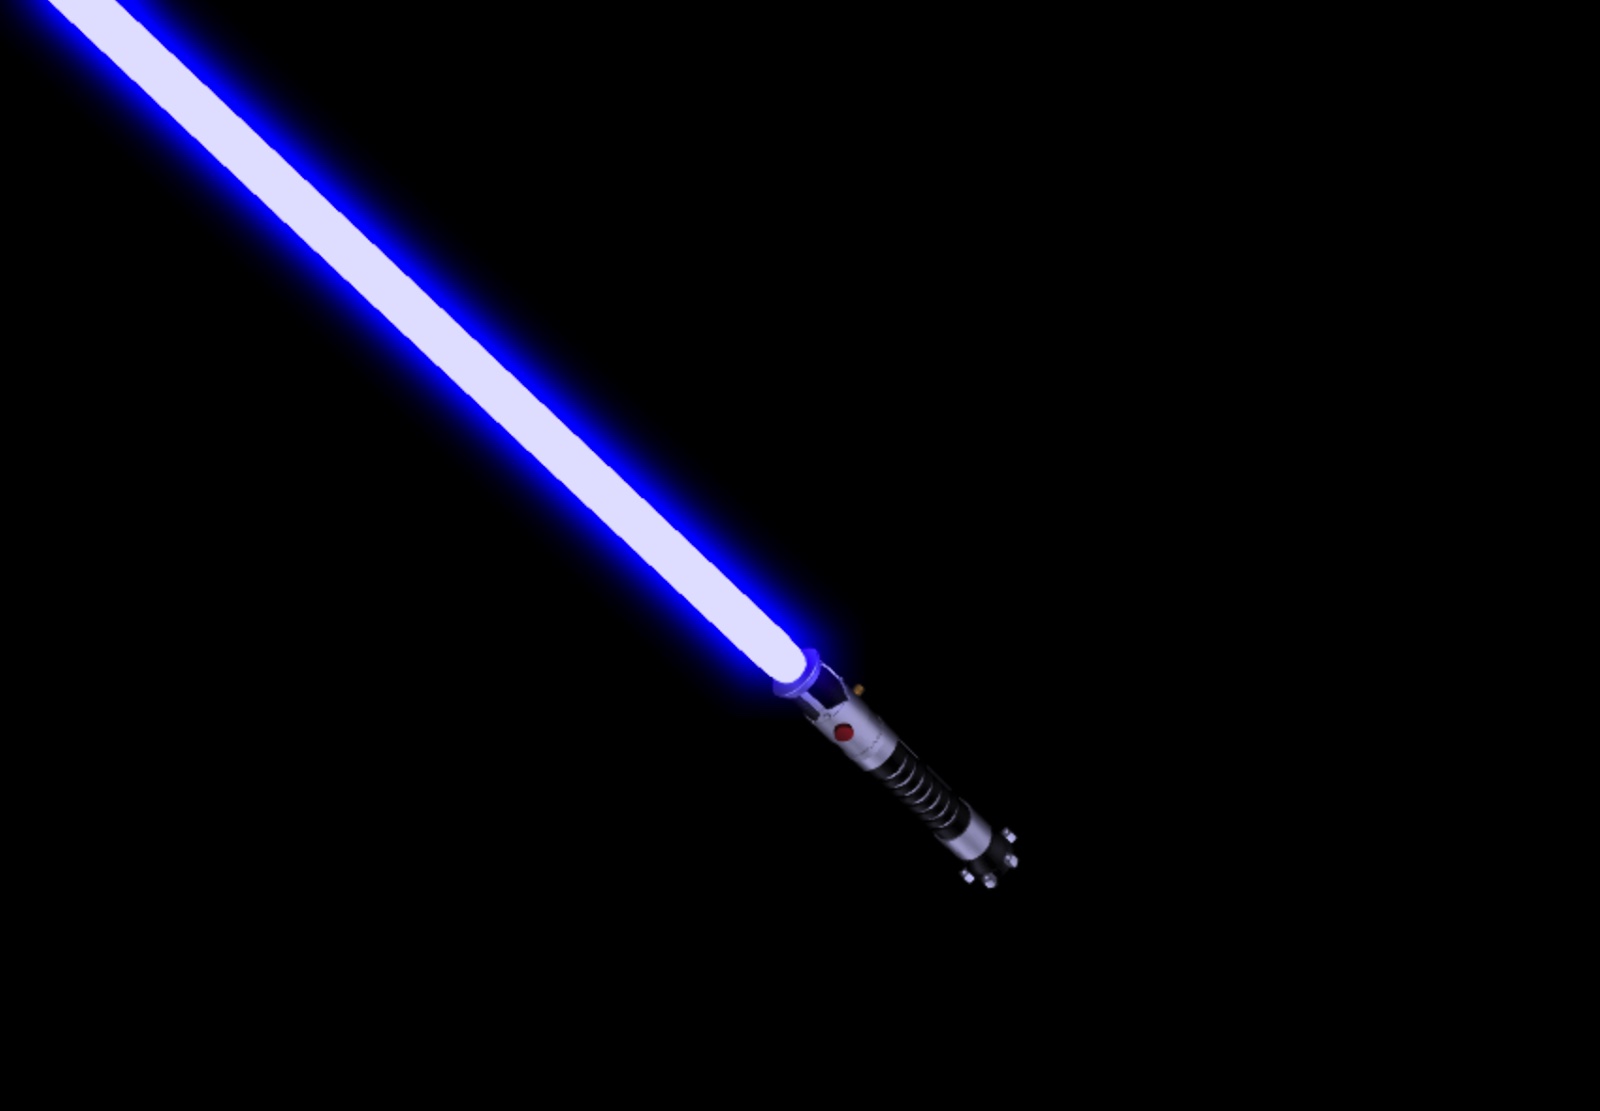
Glow effects often consist of a multi-pass post processing effect. Glowing objects are rendered to an off-screen framebuffer. This framebuffer is then blurred. The blurred glow map is finally combined with the non-glowing objects in the scene. This combination of the blurred glowing objects plus the non-glowing ones produces quite convincing results, such as in the follow screenshot.
 The Lightsaber blade has a glow shader appied to it.
The high-level rendering pass for a scene containing glowing and normal objects is something in the lines of (code adapted from the actual Lightsaber demo):
function renderScene()
{
    // Step 1: Render the scene to off-screen
    // texture using a standard T&L shader.
    //
    glowEffect.doPass(PASS_STANDARD_RENDER);
    renderSceneStandard();

    // Step 2: Render the glowing objects to
    // a separate texture (generate the glow map).
    //
    glowEffect.doPass(PASS_GLOW_MAP_GEN);
    renderSceneGlowOnly();

    // Step 3: Blur the glow map with a filter of your choice.
    //
    glowEffect.blurGlowMap();

    // Pass 4: Blend the glow map with the
    // rendered scene from #1 to compose the final image.
    //
    glowEffect.composeFinal();

    // Finally present to scene to the screen framebuffer:
    presentFramebuffer(glowEffect.getOutputFramebuffer());
}
Anisotropic shader
There are several Lightsaber designs (BTW, did you know that the red Lightsaber blade is a mark of the Sith?). Some have shiny chromed handles, some have a more matte appearance and some look like they are made of plastic or carbon fiber.
For my Lightsaber, I was aiming more at a brushed-steel kind of material, so I thought it would be the perfect place to implement an anisotropic surface shader.
This is a good tutorial reference if you are interested in knowing the finer details of this style of shading. Suffice to say that it is not much more complicated than the Blinn-Phong model, and it produces much nicer results for matte surfaces than a tweaked Phong shader equivalent would.
Motion trail
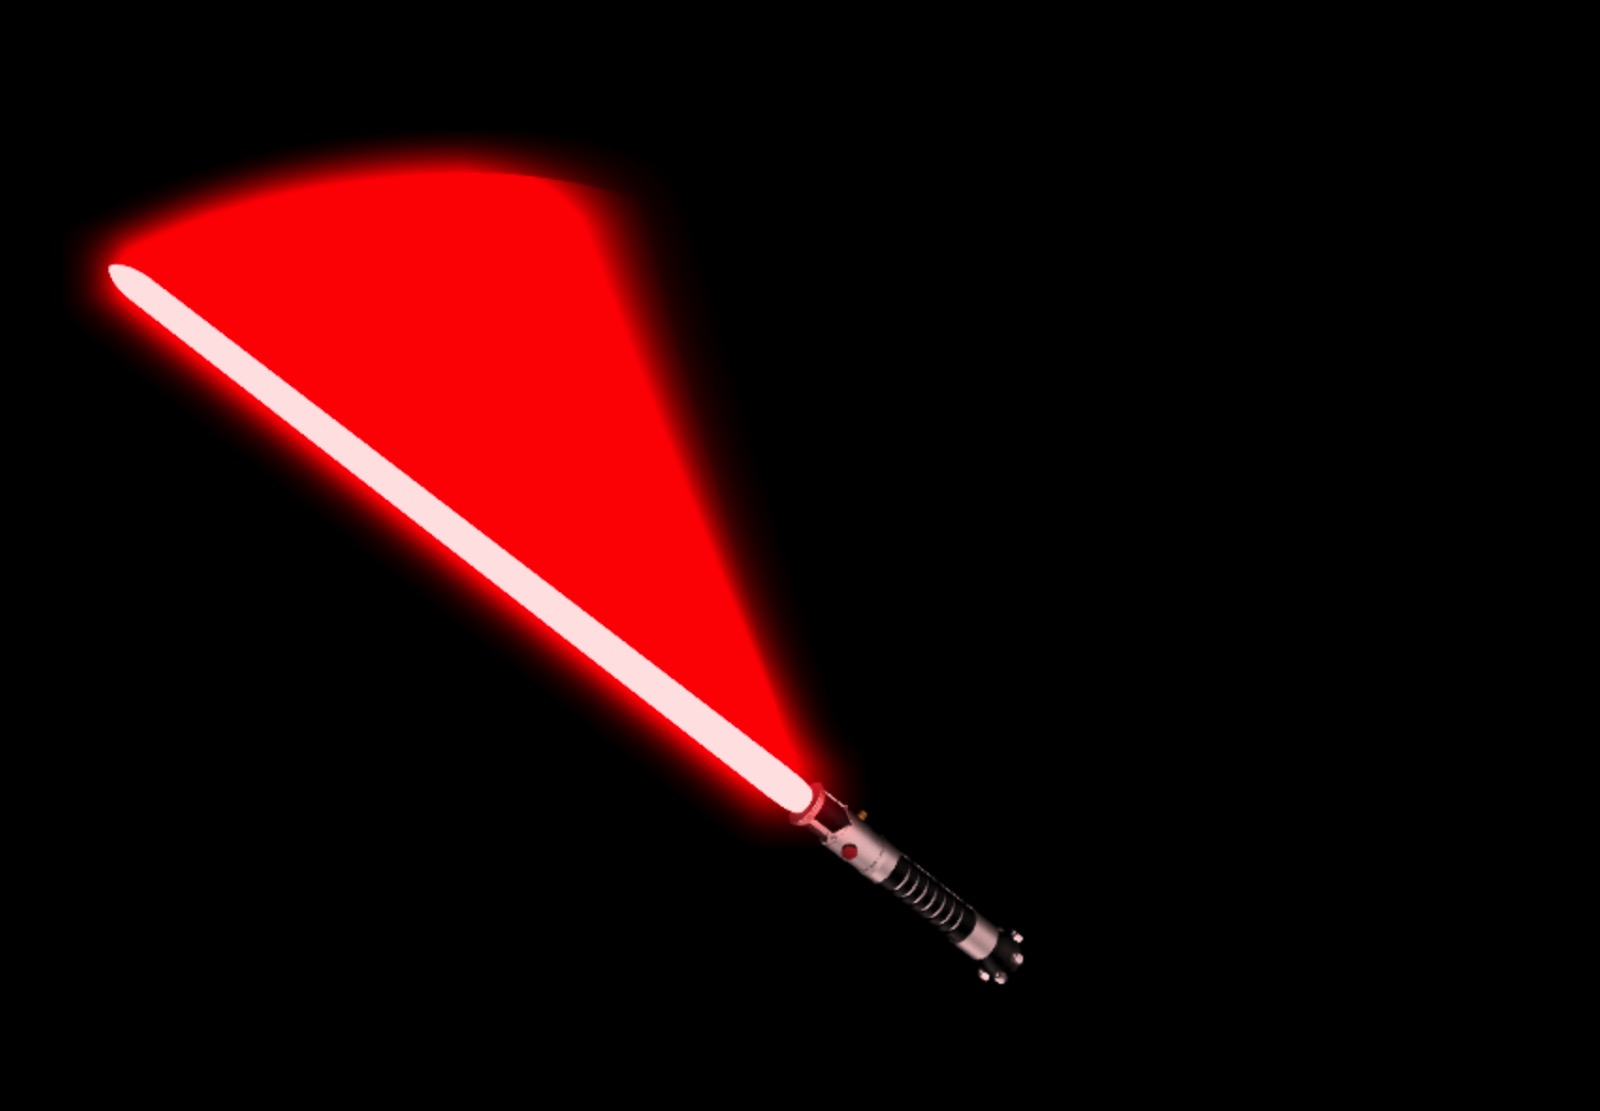
 The saber blade leaves a motion trail when swinged.
In the movies, you can always perceive the trail left by a swinging saber during a fierce fight. Initially, I thought about using some common motion blur effect to simulate that, but the results, even though somewhat accurate, were too shy. A more dramatic effect would be need to approximate the kind of motion trails we see on the films.
Which reminded me about the Polyboards technique, described in Mathematics for 3D Game Programming and Computer Graphics. This is a simple technique to turn an arbitrary line described by a set of 3D points (in this case, our motion trail) into a polygon with some thickness. Once the line is expanded into a triangulated mesh, we can render it normally and also apply the glow post-effect to it, resulting in the sweet motion trail seen above.
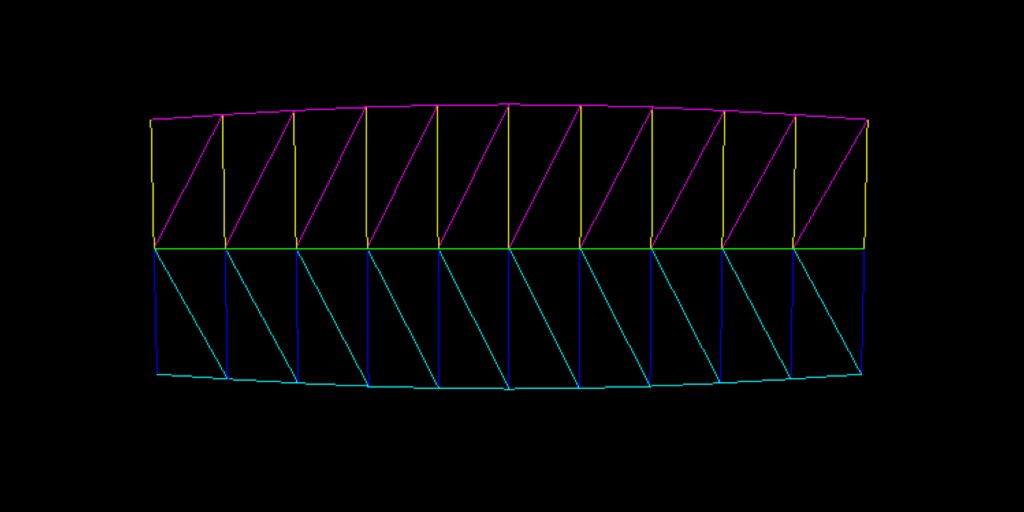
 Polyboard rendered as wireframe to visualize the generated triangles.
In the previous image you can see a slice from a polyboard rendered as wireframe. The green line in the middle is the source polyline, defined by a point where each triangle starts. Polyboards are the base of the saber’s blade motion trail.
FXAA
So now the Lightsaber is rendering nicely with a glowy blade and a handle that looks like the body of my Apple laptop, but we can still see some jagged edges here and there.
The saber model is actually very high-poly, but that is never enough on ever increasing high-dpi displays. WebGL supports the creation of a context with MSAA enabled (though I’ve head that some browsers just ignore that flag). However, MSAA wouldn’t work for me, since my scene is rendered entirely to an off-screen framebuffer, so I might as well disable it.
Fast Approximate Anti-Aliasing to the rescue! If you’re even remotely interested in computer graphics, good chances are you’ve heard about this AA technique before. This method was invented by Timothy Lottes, working for NVidia, quite some time ago. As described by the author, it is “basically the simplest and easiest thing to integrate and use”.
FXAA is, in the simplest terms I can think of, an image-based edge detection filter. Apply this filter to the rendered scene in an off-screen framebuffer and it will detect jagged edges within a threshold and smooth them for you.
Integrating it is very easy if you are already rendering to a custom framebuffer. In my demo app, I also allow switching it on and off to visualize the difference. It is subtle, but you can spot it.
My implementation was based on this FXAA shader optimized for WebGL/OpenGL-ES and Mobile.
Sound
Lastly, I had to add the iconic Lightsaber sounds! That was very simple. I just used an <audio> HTML element to
fetch the MP3s when the page is loaded. The sound samples I’ve managed to find aren’t great, but still throw me
right back into the original movies instantly!
Source code
As always, source code is available and released under an unrestrictive license. For those interested in the nitty-gritty technical details, here it is.
May The Force be with you!